

Indoor Seed Starting
By Julie Rubaud (with help from Kat Consler)
For The Hinesburg Record
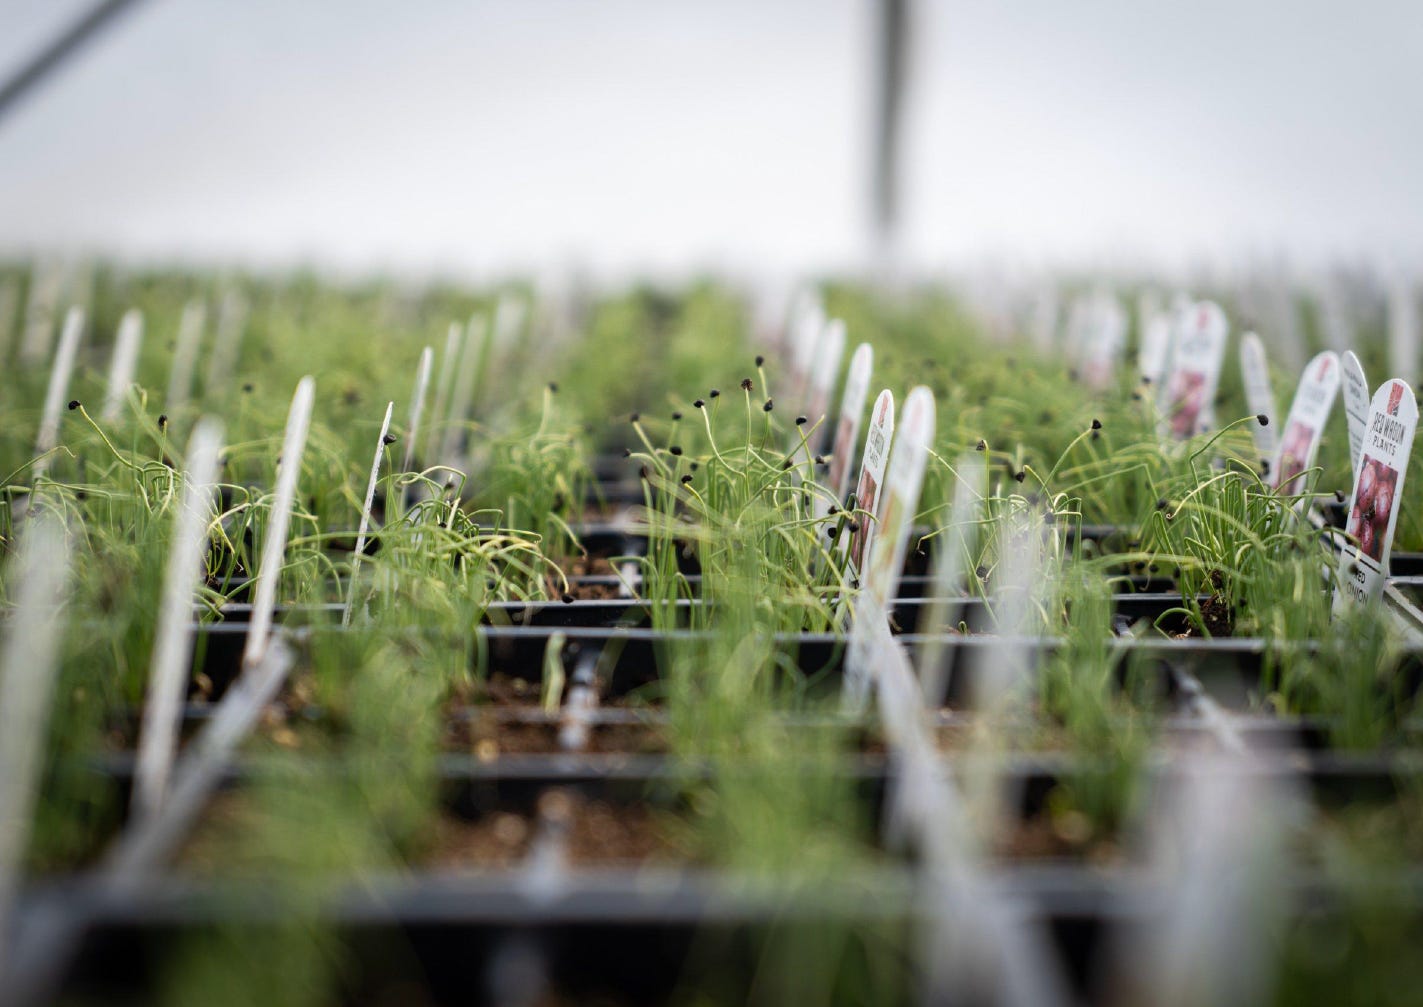
Late February is when we start onions, leeks, and shallots in the greenhouse. If you are doing your own seeding at home, you can start those at the same time as well. Growing seeds at home is so fun, but we encourage you to get set up with good grow-lights and to use good soil. If you need potting soil for your seed starting, we recommend Vermont Compost Fort Vee. This is the soil we recommend for everything, not just seed starting. Please note that many soils labeled “Seed Starting Mix” are devoid of all nutrients. They are sterile growing media that is intended to be used solely for germinating seeds. Once the seeds are germinated, they must be taken out of that soil and potted into something with nutrients or they must be fed soluble fertilizer. If you would like a simpler and more ecological approach, we suggest that you simply start with a compost-based soil like the one from Vermont Compost Company and you don’t have to fuss that much or wonder why your plants are turning yellow and not growing.
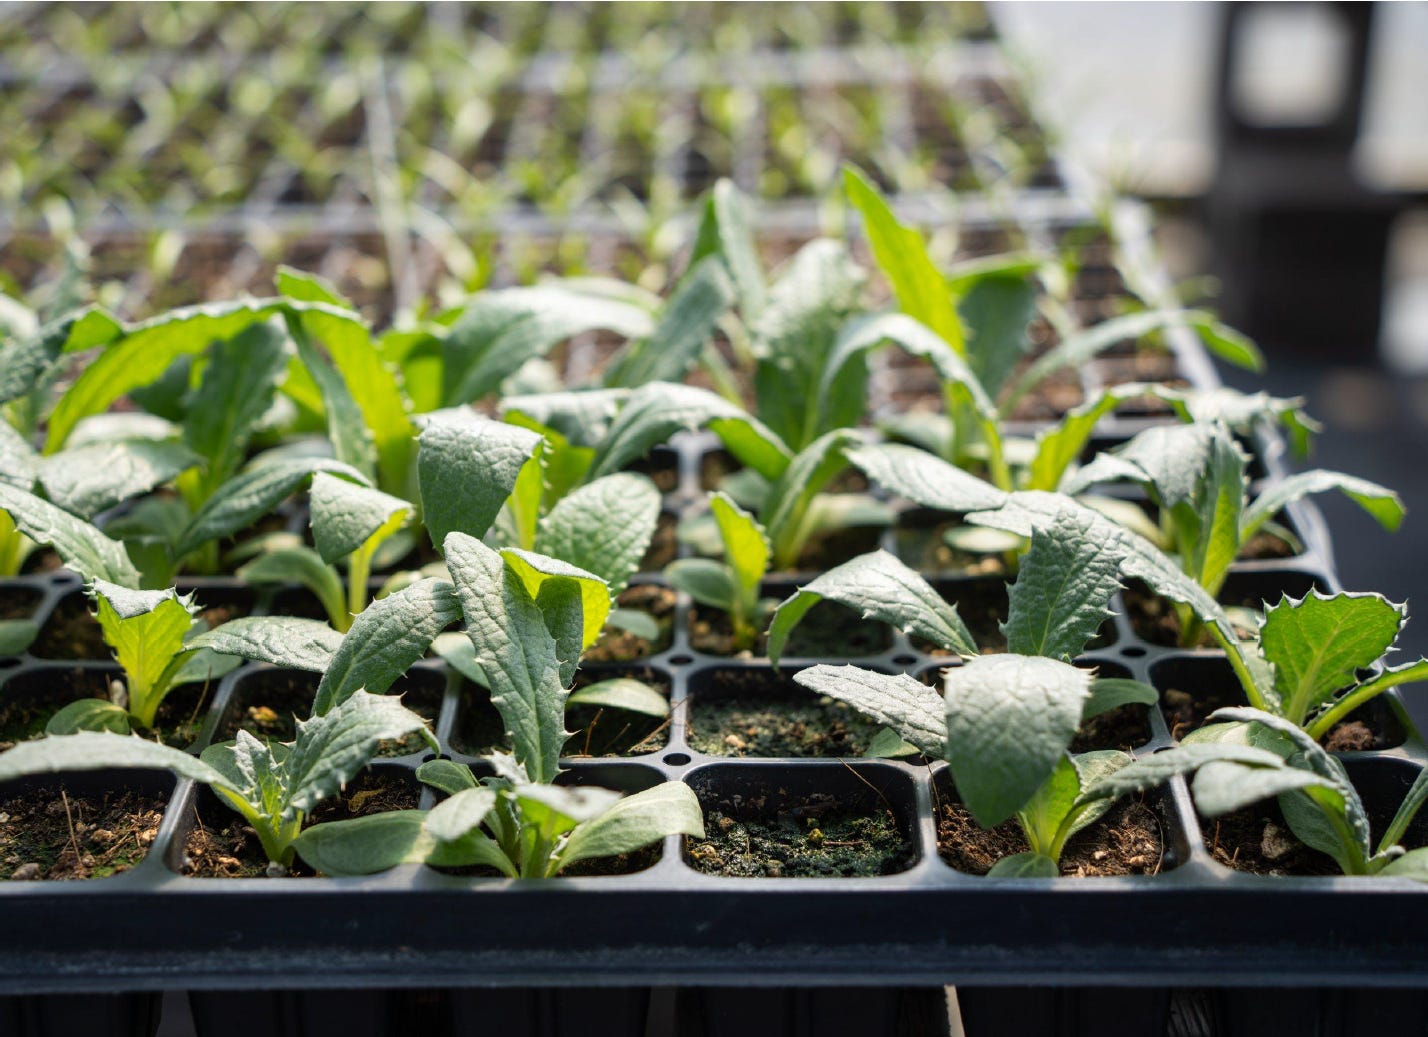
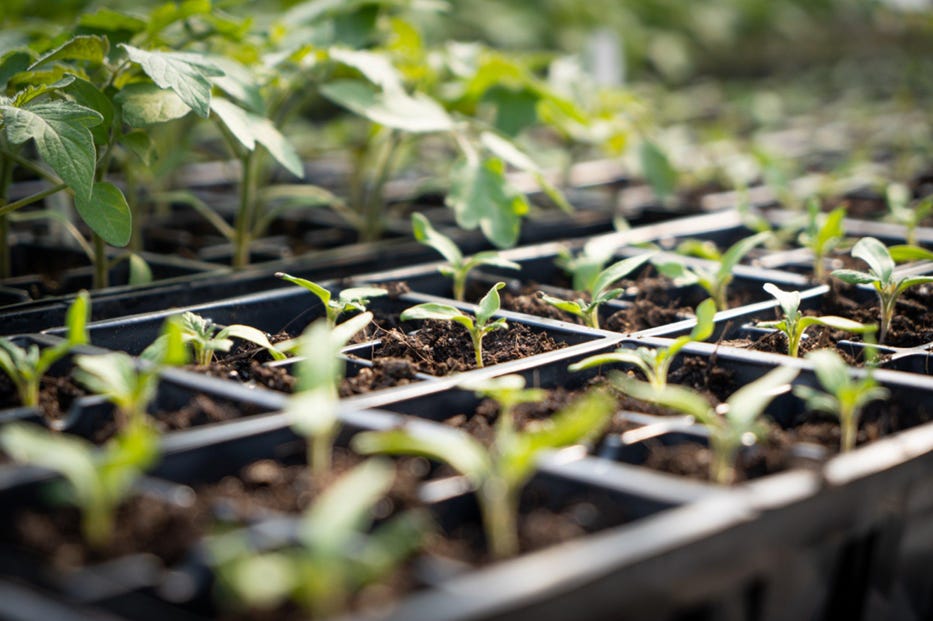
A couple weeks later you can start to seed cold hardy greens, peppers and eggplants. We don’t recommend seeding tomatoes until the end of March, or even early April. They just grow too quickly and then are too big and leggy for most indoor growing set ups.
When seed-starting at home follow these guidelines for best results:
Only cover your seeds with a small amount of soil, about the same thickness as the seed itself. Many newer gardeners bury their seeds too deeply and lament the poor germination results.
Find out if your seeds need light to germinate. The seed company you use should have some information about that on the packet or on their website. Those light-loving seeds are simply pressed into the top of the soil and not covered at all.
When seeding, first make a firm seed bed by pressing four fingers down onto the soil surface to ensure it is smooth and solid. Then sprinkle on your seed(s) and either press the seed into the soil if it needs light to germinate or sprinkle more soil on top (a very small amount) and gently pat the soil down again.
When first watering seeds, use the gentlest nozzle on a watering can. It is best to not disturb the soil and seed with pressurized water. You can even water the seeds from the bottom by setting your seeded pot into a pan of water until the soil wicks up enough water to be damp. If you use this method, remember to take the seeded pot out of the dish of water within a few hours so it is not sitting in water for too long.
The most common mistake is to seed things too early. Remember that our average last frost here in Vermont is not until late May. Some plants can tolerate a frost, and some cannot. Some plants grow slowly and some grow quickly. To have good seedlings at the right time of year takes some knowledge and planning. If you are looking for more information on seed starting, we recommend looking at the seeding specs on the Johnny’s website. They are geared towards professional growers and give the most detailed information about timing and planning. The other most common mistake is to give your plants insufficient light. Grow-lights need to be just an inch or two above the germinated seeds and they need to be raised up as the plant grows. A south facing window is not enough light and will generally lead to leggy plants that lean towards the window.
Given all of that, we certainly hope you start seeds at home. Seeing new plants pop out of the soil is a miraculous process and brings joy every single time. Don’t let a not-perfect set up stop you, especially if you live with kids. It is perfectly fine to ignore all of these best practices, put a sunflower seed in a paper cup of soil and stick it in the window. Pure magic will be at hand!
Julie Rubaud is the owner of Red Wagon Plants. This article is part of a gardening series by Rubaud, and you can read the previous article here.